As we all know Turmeric powder is one of the important ingredients in our Indian Cooking. Apart from giving the color to the dish turmeric root has numerous health benefits.
Please READ THIS ARTICLE ABOUT THE BENEFITS OF TURMERIC to know more about turmeric / Arishina / Haldi / Manjal …
This chutney recipe is using the fresh turmeric root.
In this particular recipe we have to use fresh turmeric root to prepare the chutney.
This is Vegan, gluten free, and No onion no garlic chutney. This turmeric root chutney goes well with rice, rotti, roti, idlis….
To try the variety chutney recipes click here👉 CHUTNEYS

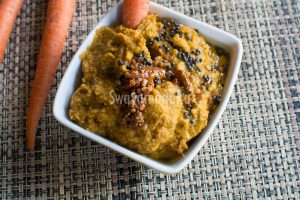
Turmeric Root Chutney
Turmeric Root Chutney or Arishinada berina chutney -detailed Video recipe and step by step picture recipe .
Ingredients
- 1 inch fresh turmeric root - around 4 pieces
- 1/2 cup fresh coconut
- marble size tamarind
- 1/2 tbsp Jaggery
- Around 6 red chillies
- 1 tsp salt or salt to taste
- around 1/2 cup water
- 1/2 tbsp oil for frying the turmeric root
For seasoning
- 2 tsp oil
- 1/4 tsp mustard seeds
- 1/4 tsp split black gram/ Urad dal
- 1 red chilli
Instructions
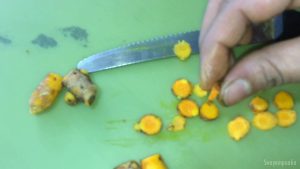
- Wash and slice the turmeric roots . Cut it as think discs as shown
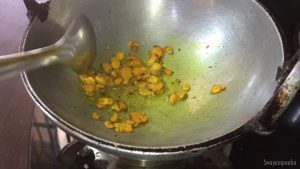
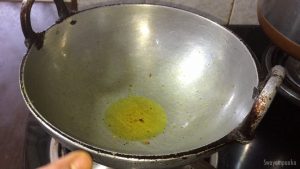
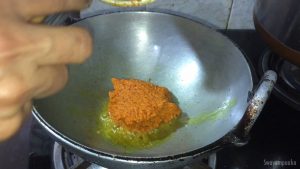
- Heat the oil in a pan and fry the turmeric pieces until it becomes crisp and the raw smell disappears (around 3 to 4 minutes on medium heat )
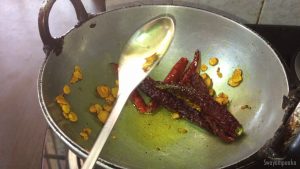
- Once it becomes crisp add red chillies , turn off the heat and mix it, and allow it to cool
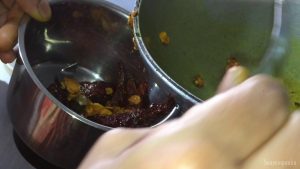
- After it cools completely transfer turmeric root and chillies to a mixer jar, leave the oil in the pan itself.
- add tamarind, jaggery, salt and coconut to the mixer jar, Grind it along with the fried root and chillies without adding water first.
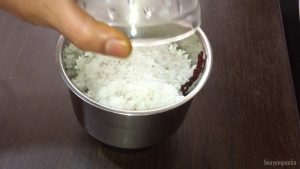
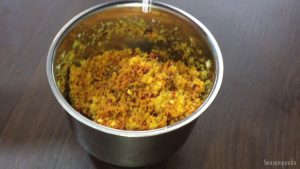
- Then add around 1/4 cup water and grind it to a coarse consistency
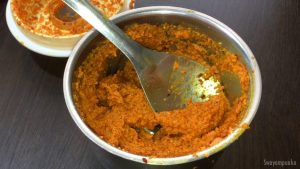
- Now the chutney is ready, you can use this as chutney or
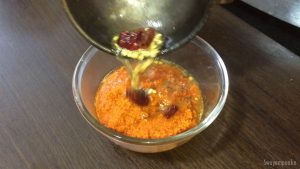
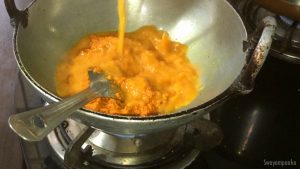
- Heat the oil in the pan,
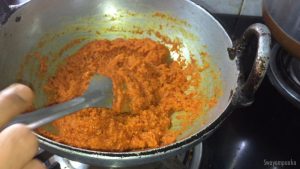
- add this chutney, for 3 to 4 minutes and turn off the heat. This is called Turmeric root gojju.
- add some water to mixer jar jar and add that as well mix it well and allow it to boil(stirring in between) mix it well and allow it to boil(stirring in between) for 3 to 4 minutes
- and turn off the heat. This is called Turmeric root gojju.
for seasoning:
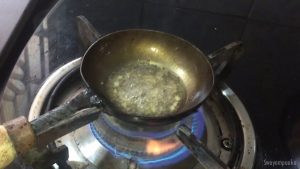
- Heat the oil in a ladle, once hot add mustard seeds, after it pops add urad dal,
- once the dals turn golden brown, turn off the heat and add broken red chilli
- Add the seasoning to the chutney/gojju and enjoy this healthy side dish with rice, rotti, roti....